Building a simple drone is an exciting project that combines engineering, electronics, and creativity. Whether you’re a beginner looking to explore the world of drones or a hobbyist interested in expanding your DIY skills, this guide will provide you with everything you need to know. In this article, we will walk through the fundamental steps to building a simple drone, covering components, assembly, and troubleshooting.
Why Build a Simple Drone?
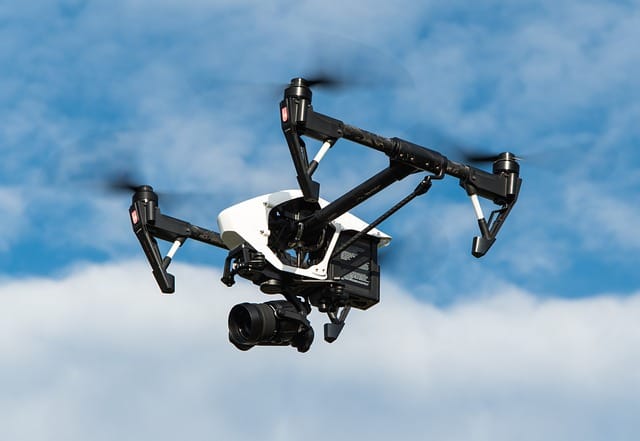
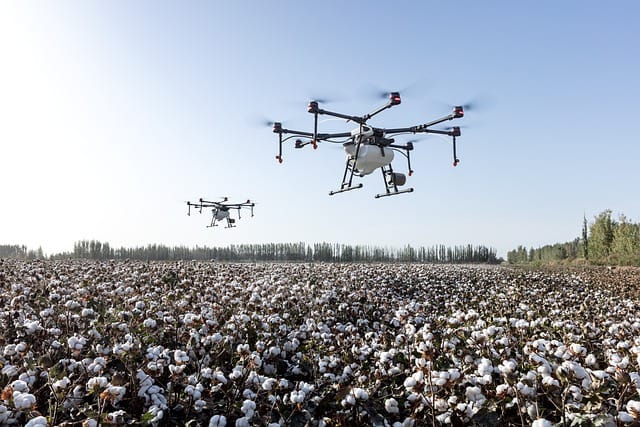
Drones have taken the world by storm, and their applications range from photography and videography to racing and environmental monitoring. While purchasing a ready-made drone is an option, building a simple drone yourself provides a rewarding hands-on experience. You gain a deeper understanding of how drones work, how to fix them when issues arise, and how to customize them for specific needs. Plus, it’s a great way to save money compared to buying a high-end drone off the shelf.
What is a Simple Drone?
Before diving into the steps, let’s clarify what we mean by “building a simple drone.” A simple drone is typically a quadcopter that uses four motors to fly. It has basic flight controls, stabilizing software, and essential components that allow it to hover, move, and land smoothly. The simplicity here refers to fewer advanced features such as GPS, obstacle avoidance, or autonomous navigation, which are common in more complex drones.
The Basic Components of a Drone
1. Frame
The frame is the skeleton of the drone, holding all the other components together. For a simple drone, you can use a lightweight yet sturdy material such as carbon fiber, plastic, or aluminum. The frame needs to support all the components, including the motors, propellers, and battery, while remaining strong enough to withstand minor crashes.
2. Motors
A quadcopter drone uses four motors, one for each arm of the frame. Brushless motors are the best option for drones because they are efficient, durable, and provide the necessary power for flight. The motors rotate the propellers, allowing the drone to take off, hover, and maneuver in the air.
3. Electronic Speed Controllers (ESCs)
Electronic Speed Controllers regulate the speed of the motors. Each motor on the drone requires an ESC to control its speed and power output. The ESCs receive signals from the flight controller and adjust the motor speed accordingly, enabling smooth and stable flight.
4. Propellers
Propellers are essential for generating the lift that allows the drone to fly. A simple drone typically uses four propellers: two that rotate clockwise (CW) and two that rotate counterclockwise (CCW). These opposite rotations ensure the drone remains balanced during flight. Propellers come in various sizes and materials, but plastic propellers are a good starting point for building a simple drone.
5. Flight Controller
The flight controller is the brain of your drone. It processes input from the remote control and onboard sensors, adjusting the drone’s orientation and motor speed accordingly. For a beginner-friendly build, choose a flight controller that supports basic stabilization and has an easy-to-use setup interface.
6. Battery
The battery powers the drone’s motors, flight controller, and other electronic components. Most simple drones use lithium-polymer (LiPo) batteries because they provide high energy density and lightweight performance. The battery’s capacity (measured in mAh) and voltage determine how long your drone can fly and how much power it can generate.
7. Remote Control and Receiver
To control your drone, you’ll need a remote control (also known as a transmitter) and a receiver. The remote control sends signals to the receiver, which is connected to the flight controller, allowing you to adjust throttle, pitch, yaw, and roll. When building a simple drone, look for a remote control that offers at least four channels to control the various functions of your drone.
8. Additional Accessories
While not essential for flight, additional accessories like cameras, LED lights, and GPS modules can be added to your simple drone if you want to expand its functionality. However, for the purposes of this guide, we will focus on the essential components listed above to keep the drone build simple and straightforward.
Step-by-Step Guide to Building a Simple Drone
Step 1: Gather Your Materials
Before you begin building, make sure you have all the components listed above. Depending on your budget and skill level, you can purchase individual parts or a drone kit that includes everything you need. It’s important to select compatible components to ensure smooth operation. If you’re unsure about which parts to choose, look for beginner drone kits that come pre-matched.
Step 2: Assemble the Frame
The first step in building a simple drone is assembling the frame. Most drone frames come with pre-drilled holes, making it easy to attach the arms, motor mounts, and landing gear. Use screws and a screwdriver to secure the frame pieces together, ensuring all the parts are aligned and stable. Attach the motor mounts to the arms of the frame, as this is where the motors will be installed later.
Step 3: Install the Motors
Once the frame is assembled, the next step is installing the motors. Secure each motor onto its designated motor mount using screws. Make sure the motors are installed in the correct orientation—two motors should spin clockwise (CW), and the other two should spin counterclockwise (CCW). This setup is crucial for the drone to remain balanced and stable in flight.
Step 4: Connect the Electronic Speed Controllers (ESCs)
Each motor needs an ESC to control its speed and power. Connect the ESCs to the motors by soldering the motor wires to the corresponding ESC terminals. Make sure the connections are solid, as loose wiring can cause instability or failure during flight. Once the ESCs are connected to the motors, attach them to the arms of the frame using zip ties or adhesive.
Step 5: Mount the Flight Controller
With the motors and ESCs in place, it’s time to mount the flight controller. The flight controller is typically placed in the center of the frame for balance. Secure it to the frame using double-sided tape or mounting screws. Be careful to keep the flight controller level, as its orientation will affect the drone’s stability during flight. Connect the ESCs to the flight controller using the appropriate wires.
Step 6: Attach the Propellers
Next, attach the propellers to the motors. Remember, the two clockwise (CW) motors should have matching CW propellers, and the two counterclockwise (CCW) motors should have CCW propellers. Tighten the propellers securely to prevent them from flying off during flight. It’s a good idea to double-check the orientation and alignment before proceeding to the next step.
Step 7: Connect the Battery and Receiver
Connect the battery to the power distribution board or directly to the ESCs, depending on your setup. Ensure the battery is secured to the frame using Velcro straps or a battery holder to prevent it from shifting during flight. Next, connect the receiver to the flight controller, allowing you to control the drone via your remote control.
Step 8: Calibrate and Test the Drone
Before taking your drone to the skies, it’s essential to calibrate the flight controller and test the drone on the ground. Follow the flight controller’s instructions for calibration, which usually involves leveling the drone and adjusting its sensors. Once calibrated, perform a few ground tests by slowly increasing the throttle to ensure the motors and propellers are working correctly.
Advanced Modifications for Your Simple Drone
After successfully building a simple drone, you may want to explore more advanced features. Here are some ideas for future upgrades:
Adding a Camera
If you want to capture aerial footage or photos, consider adding a lightweight camera to your drone. Many small cameras, such as GoPro or FPV (first-person view) cameras, can be mounted to your drone’s frame without significantly impacting its weight or performance.
Upgrading to GPS
For those interested in adding autonomous flight features or precise positioning, a GPS module can be integrated into your drone. GPS allows your drone to maintain altitude, return to home, or even follow predefined routes without manual control.
Installing LED Lights
LED lights not only enhance the visual appeal of your drone but also improve visibility during low-light conditions. You can install different-colored LEDs on the arms of your drone to help identify its orientation while flying.
Common Issues and Troubleshooting
Drone Won’t Take Off
If your drone won’t lift off the ground, check the orientation of the propellers and motors. Ensure that the clockwise (CW) and counterclockwise (CCW) motors have the correct propellers installed and that the motor wires are properly connected.
Unstable Flight
If your drone wobbles or drifts during flight, the issue could be improper calibration. Double-check the flight controller’s setup and recalibrate the sensors if necessary. Additionally, inspect the frame for any loose components or misaligned propellers.
Short Battery Life
If your drone’s battery drains too quickly, consider upgrading to a higher-capacity battery or reducing the weight of the drone by removing unnecessary components. Always ensure that your battery is fully charged before flight.
Conclusion: Building a Simple Drone is Rewarding and Fun
Building a simple drone is a rewarding and educational experience that can teach you the basics of electronics, mechanics, and aviation. By following the steps outlined in this guide, you’ll not only build your own functional drone but also gain valuable skills that can be applied to more advanced projects in the future. Whether you plan to use your drone for fun, photography, or racing, this DIY project is an excellent way to start your drone journey.